> ## Documentation Index
> Fetch the complete documentation index at: https://docs.insforge.dev/llms.txt
> Use this file to discover all available pages before exploring further.
# 网站
> 从您的项目部署前端应用,由 Vercel 提供支持。
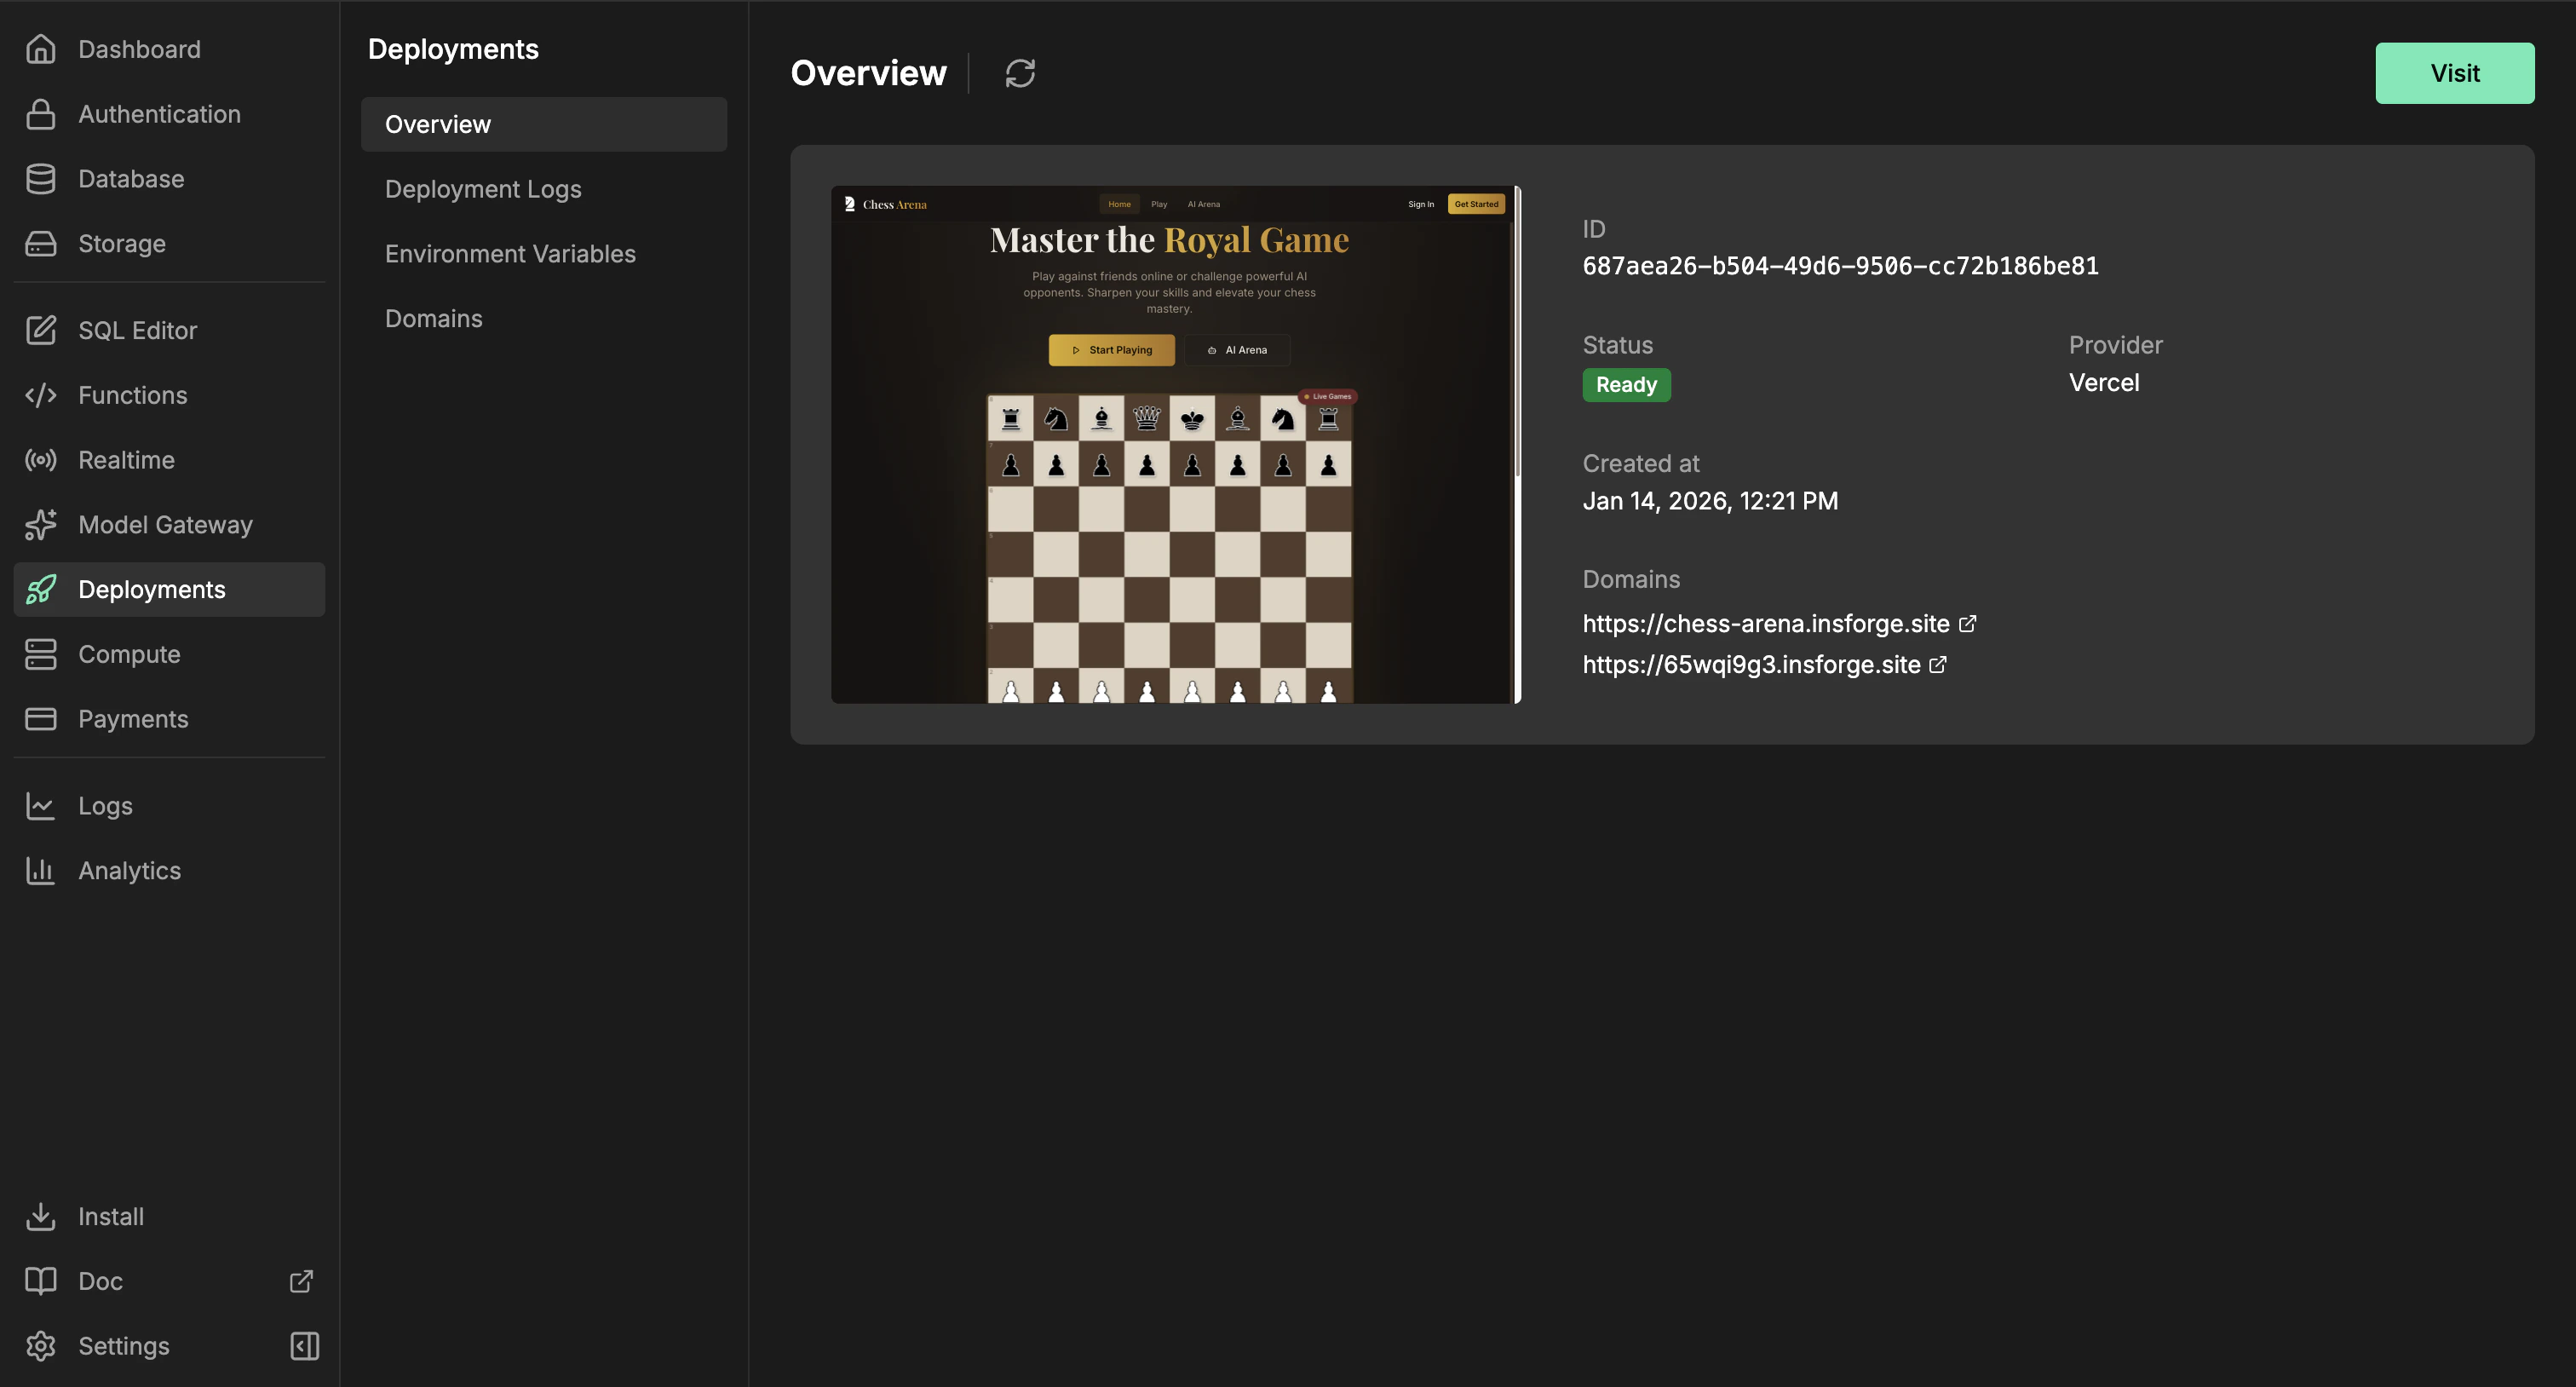
使用 InsForge Sites 来部署属于您的项目的面向浏览器的应用。InsForge CLI 通过 InsForge 上传您的前端源,它创建一个 Vercel 生产部署。仪表板跟踪 URL、状态、部署历史、环境变量和域。
 **需要部署容器或后端服务?** 对工作者、队列、WebSocket 服务器和长期运行的服务使用 [Compute](/core-concepts/compute/overview)。Sites 用于前端网站和产生托管 Web 应用的框架构建。
```mermaid theme={null}
flowchart TB
CLI[InsForge CLI] --> API[InsForge deployment API]
Dashboard[Dashboard] --> API
API --> Source[Frontend source upload]
API --> Config[Environment variables and domains]
Source --> Vercel[Vercel production build]
Config --> Vercel
Vercel --> App[Frontend app]
App --> URL[Public URL]
App --> Status[Status and deployment history]
style CLI fill:#1e293b,stroke:#475569,color:#e2e8f0
style Dashboard fill:#1e293b,stroke:#475569,color:#e2e8f0
style API fill:#166534,stroke:#22c55e,color:#dcfce7
style Source fill:#0e7490,stroke:#06b6d4,color:#cffafe
style Config fill:#4c1d95,stroke:#8b5cf6,color:#ede9fe
style Vercel fill:#c2410c,stroke:#fb923c,color:#fed7aa
style App fill:#166534,stroke:#22c55e,color:#dcfce7
style URL fill:#166534,stroke:#22c55e,color:#dcfce7
style Status fill:#4c1d95,stroke:#8b5cf6,color:#ede9fe
```
## 功能
### CLI 部署
从您的应用源目录部署。CLI 上传源树,跳过仅本地文件(如 `node_modules`、`.git`、构建输出和 `.env` 文件),然后通过 InsForge 启动 Vercel 构建。
```bash theme={null}
npx @insforge/cli deployments deploy ./frontend
```
### 框架构建
部署 React、Vue、Svelte、Next.js、静态网站和其他前端项目。InsForge 将源文件发送到 Vercel,其中框架检测和项目文件(如 `package.json` 和 `vercel.json`)决定应用的构建方式。
### 环境变量
从仪表板管理提供商环境变量。仅对安全暴露在浏览器代码中的值使用公开前缀,如 `VITE_` 或 `NEXT_PUBLIC_`。
```bash theme={null}
npx @insforge/cli deployments env list
npx @insforge/cli deployments env set VITE_INSFORGE_URL https://your-project.region.insforge.app
npx @insforge/cli deployments env set VITE_INSFORGE_ANON_KEY ik_xxx
```
### 部署历史
从部署日志页面查看以前的运行、同步 Vercel 状态、检查元数据和取消正在进行的部署。
```bash theme={null}
npx @insforge/cli deployments list
npx @insforge/cli deployments status deployment_123 --sync
npx @insforge/cli deployments cancel deployment_123
```
### 域
每个就绪的部署都获得一个默认 URL `https://.insforge.site`。您也可以在 `https://.insforge.site` 设置一个 InsForge 管理的 slug。对于自定义域,在仪表板中添加域并配置它返回的 DNS 记录,通常是子域的 CNAME。
## 使用它进行部署
连接您的项目并从您的应用目录运行 InsForge CLI 命令。
## 下一步
* 设置 [CLI](/quickstart) 并连接您的项目。
* 从仪表板或使用 `npx @insforge/cli deployments env set` 添加浏览器安全环境变量。
* 运行 `npx @insforge/cli deployments deploy ./frontend`。
**需要部署容器或后端服务?** 对工作者、队列、WebSocket 服务器和长期运行的服务使用 [Compute](/core-concepts/compute/overview)。Sites 用于前端网站和产生托管 Web 应用的框架构建。
```mermaid theme={null}
flowchart TB
CLI[InsForge CLI] --> API[InsForge deployment API]
Dashboard[Dashboard] --> API
API --> Source[Frontend source upload]
API --> Config[Environment variables and domains]
Source --> Vercel[Vercel production build]
Config --> Vercel
Vercel --> App[Frontend app]
App --> URL[Public URL]
App --> Status[Status and deployment history]
style CLI fill:#1e293b,stroke:#475569,color:#e2e8f0
style Dashboard fill:#1e293b,stroke:#475569,color:#e2e8f0
style API fill:#166534,stroke:#22c55e,color:#dcfce7
style Source fill:#0e7490,stroke:#06b6d4,color:#cffafe
style Config fill:#4c1d95,stroke:#8b5cf6,color:#ede9fe
style Vercel fill:#c2410c,stroke:#fb923c,color:#fed7aa
style App fill:#166534,stroke:#22c55e,color:#dcfce7
style URL fill:#166534,stroke:#22c55e,color:#dcfce7
style Status fill:#4c1d95,stroke:#8b5cf6,color:#ede9fe
```
## 功能
### CLI 部署
从您的应用源目录部署。CLI 上传源树,跳过仅本地文件(如 `node_modules`、`.git`、构建输出和 `.env` 文件),然后通过 InsForge 启动 Vercel 构建。
```bash theme={null}
npx @insforge/cli deployments deploy ./frontend
```
### 框架构建
部署 React、Vue、Svelte、Next.js、静态网站和其他前端项目。InsForge 将源文件发送到 Vercel,其中框架检测和项目文件(如 `package.json` 和 `vercel.json`)决定应用的构建方式。
### 环境变量
从仪表板管理提供商环境变量。仅对安全暴露在浏览器代码中的值使用公开前缀,如 `VITE_` 或 `NEXT_PUBLIC_`。
```bash theme={null}
npx @insforge/cli deployments env list
npx @insforge/cli deployments env set VITE_INSFORGE_URL https://your-project.region.insforge.app
npx @insforge/cli deployments env set VITE_INSFORGE_ANON_KEY ik_xxx
```
### 部署历史
从部署日志页面查看以前的运行、同步 Vercel 状态、检查元数据和取消正在进行的部署。
```bash theme={null}
npx @insforge/cli deployments list
npx @insforge/cli deployments status deployment_123 --sync
npx @insforge/cli deployments cancel deployment_123
```
### 域
每个就绪的部署都获得一个默认 URL `https://.insforge.site`。您也可以在 `https://.insforge.site` 设置一个 InsForge 管理的 slug。对于自定义域,在仪表板中添加域并配置它返回的 DNS 记录,通常是子域的 CNAME。
## 使用它进行部署
连接您的项目并从您的应用目录运行 InsForge CLI 命令。
## 下一步
* 设置 [CLI](/quickstart) 并连接您的项目。
* 从仪表板或使用 `npx @insforge/cli deployments env set` 添加浏览器安全环境变量。
* 运行 `npx @insforge/cli deployments deploy ./frontend`。