

Overview
Clerk is an authentication and user management platform that provides pre-built UI components and APIs for sign-up, sign-in, and user profiles. This guide shows how to integrate Clerk with InsForge using Clerk’s JWT Templates feature. Clerk signs tokens with InsForge’s JWT secret, so InsForge accepts them natively.- Live Demo — A sample todo app using Clerk authentication with InsForge
- Source Code — GitHub repository for the sample app
Prerequisites
- An InsForge project (self-hosted or cloud)
- A Clerk account and application
Step 1: Set Up Your InsForge Project
Create a new project or link an existing one: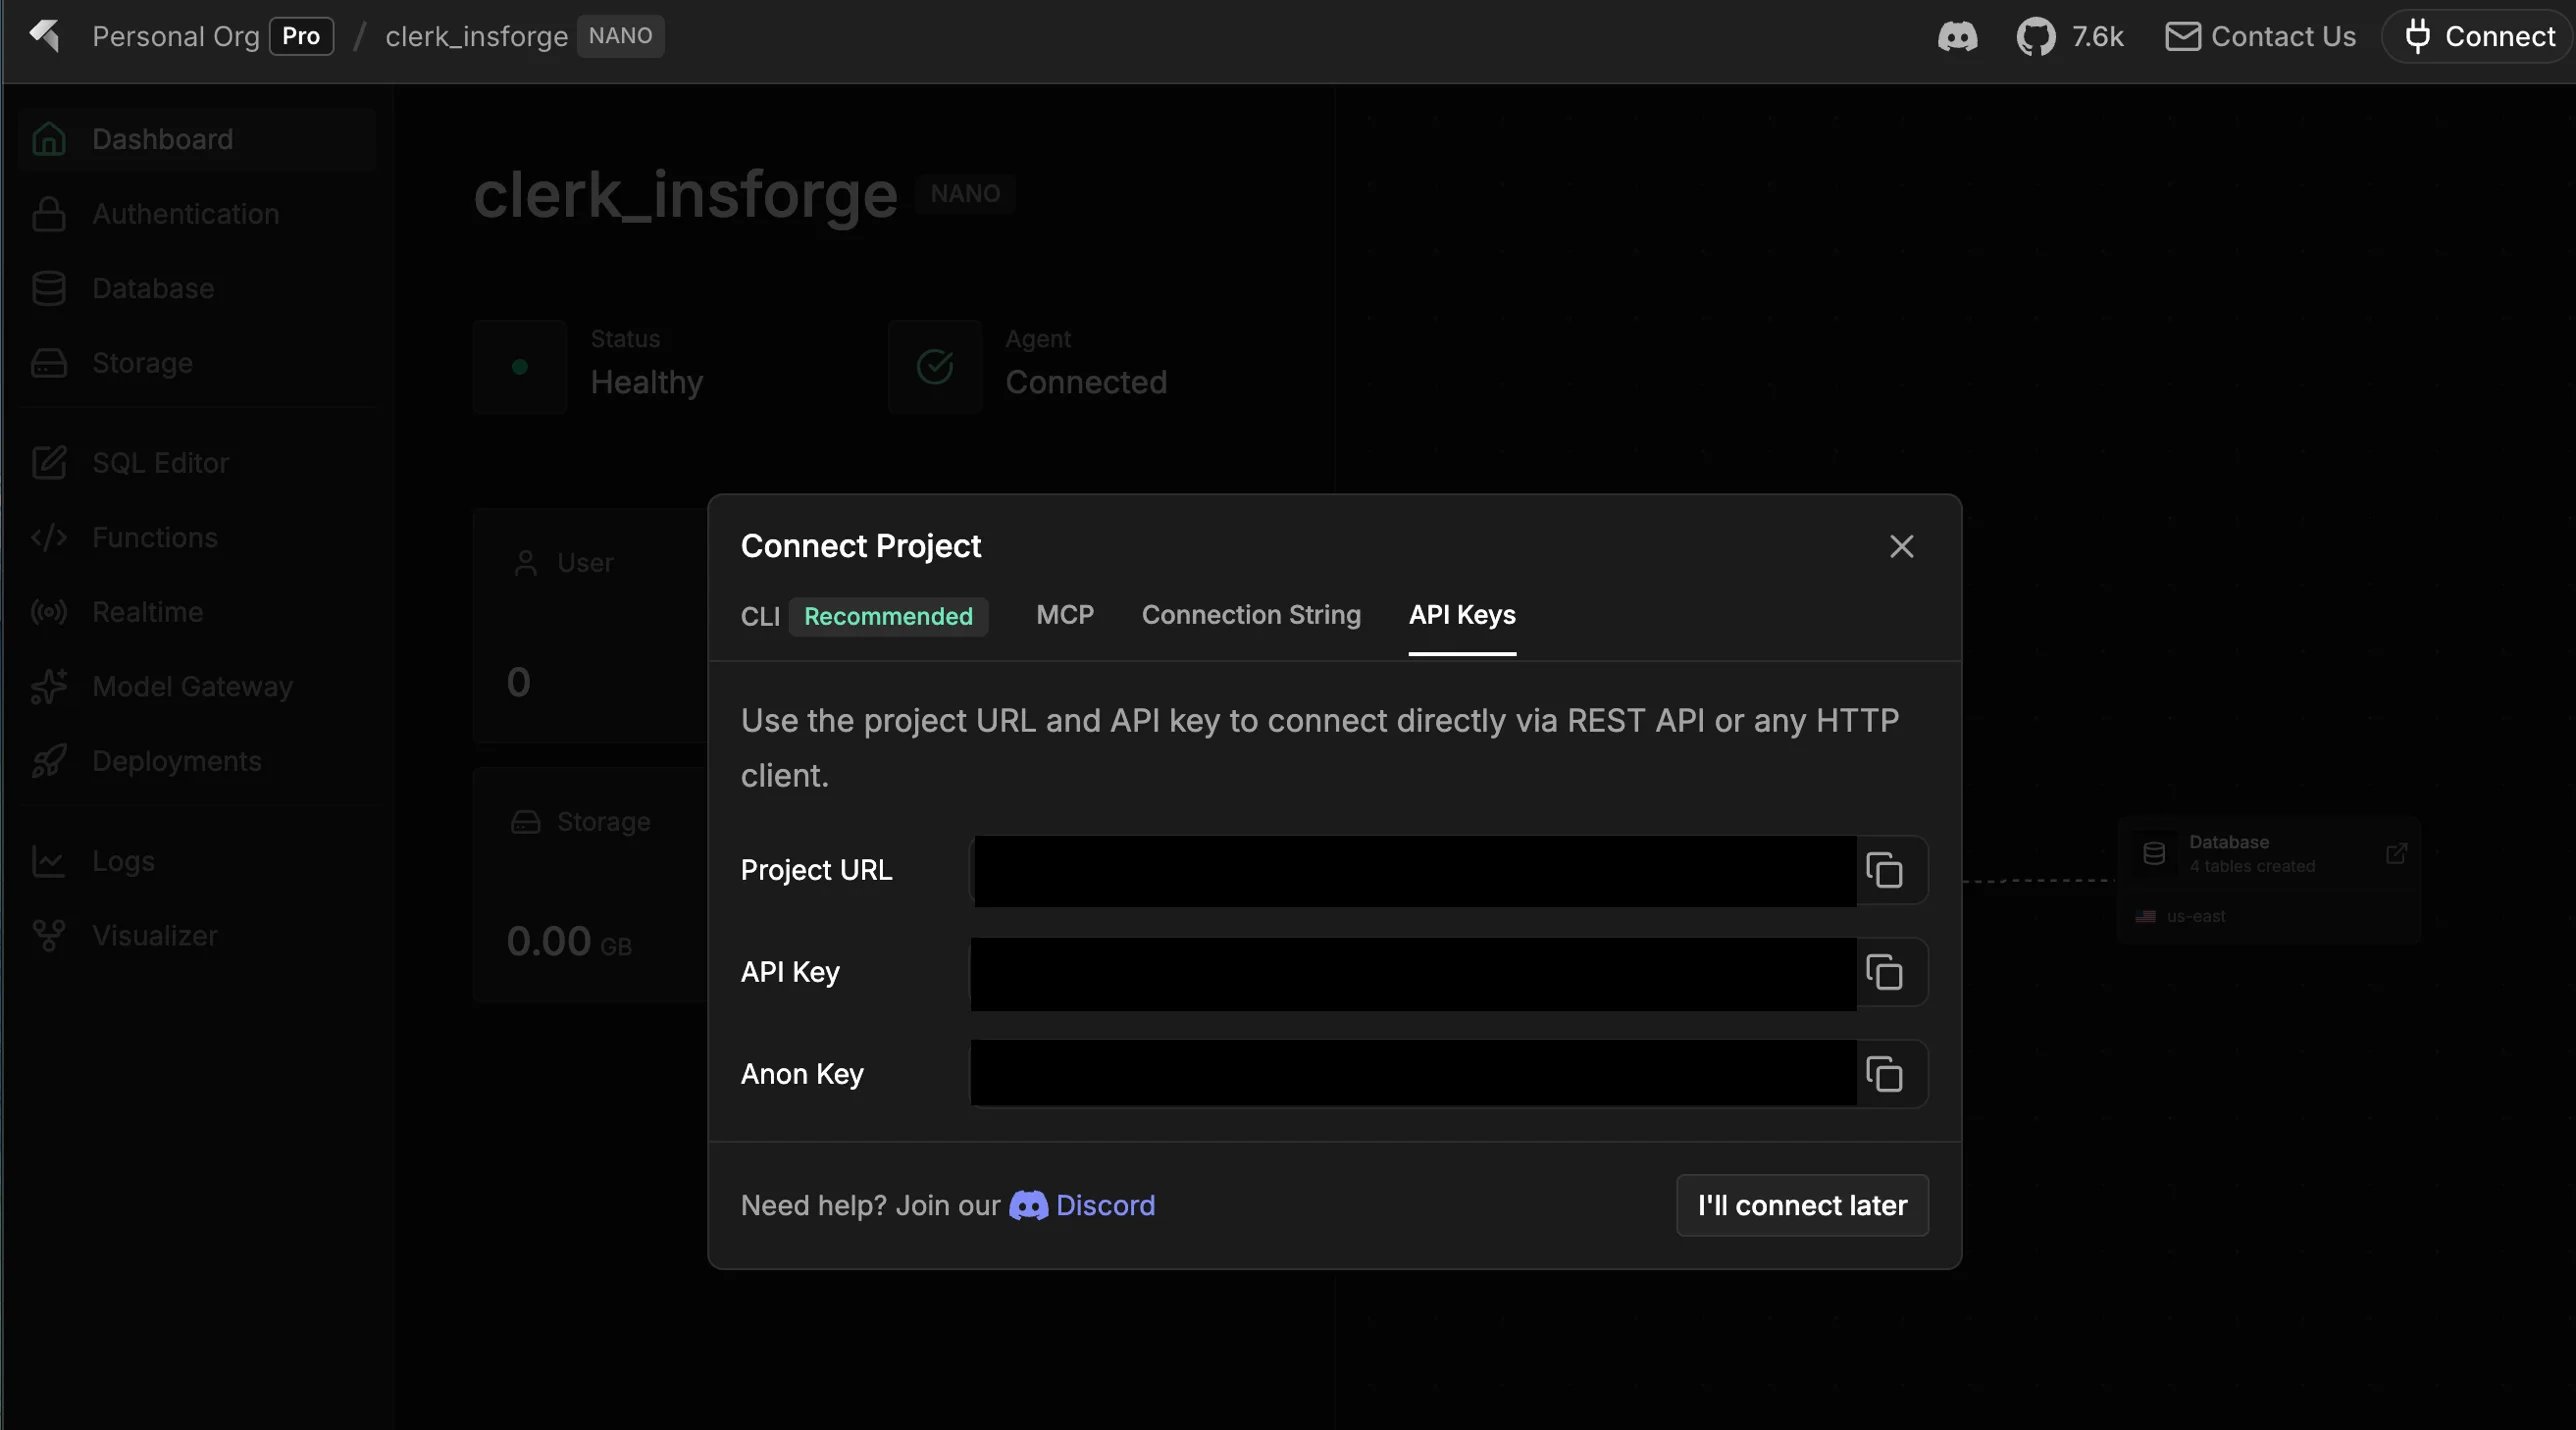
.env.local in Step 3.
The CLI prints the JWT Secret as JWT_SECRET=<value> — you’ll use only the <value> part (everything after the =) when creating the Clerk JWT Template in the next step.
Step 2: Create a JWT Template in Clerk
- Go to your Clerk Dashboard
- Navigate to Configure > Sessions > JWT Templates
- Click New template and select Blank
- Name it
insforge - Toggle on Custom signing key
- Set the Signing algorithm to
HS256 - Paste your InsForge JWT Secret into the Signing key field
- Paste only the value, not the
JWT_SECRET=prefix. For example, if the CLI output isJWT_SECRET=a1b2c3d4e5f6..., paste onlya1b2c3d4e5f6....
- Paste only the value, not the
- Scroll down to Customize session token and set the claims to:
sub and iss are reserved claims in Clerk and are automatically included — do not add them manually.- Click Save to create the template
Step 3: Set Up Your Application
Find your Clerk Publishable key and Secret key in the Clerk Dashboard under Configure > API keys (direct link) — the page also has a one-click Quick copy block preformatted for Next.js: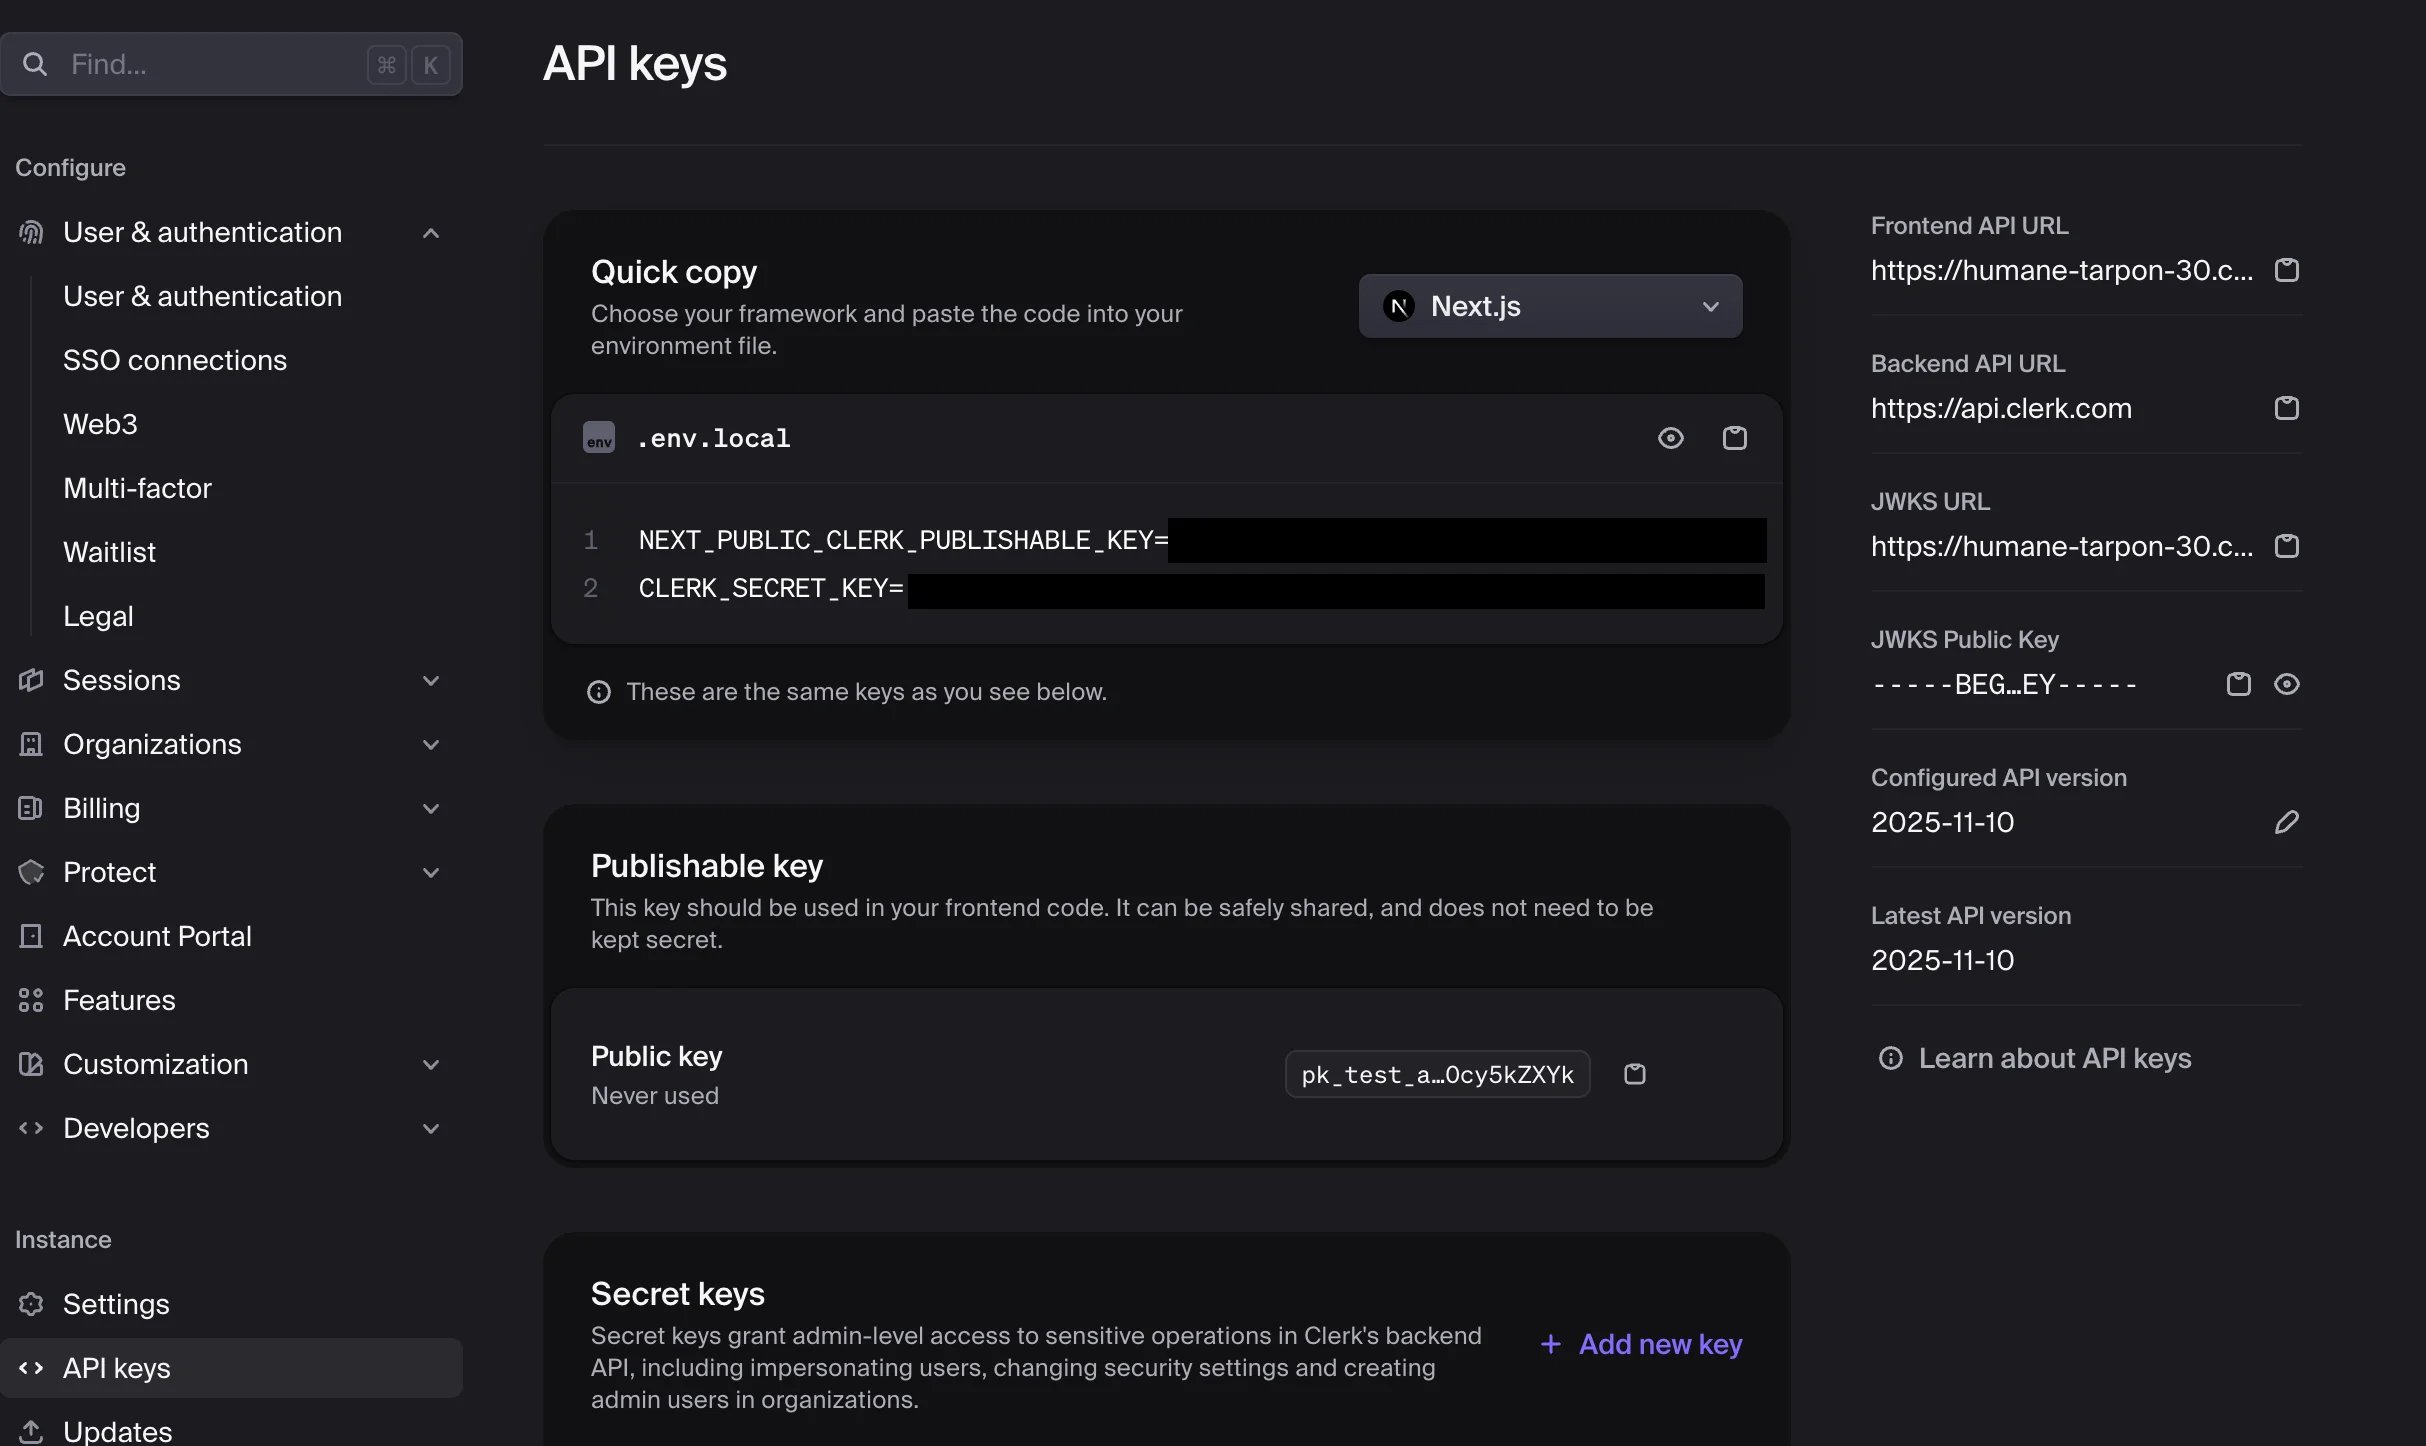
.env.local:
Step 4: Set Up InsForge Integration
Ask your agent to complete the following steps:1. Set up the InsForge client with Clerk
getToken({ template: 'insforge' })) on a ~50-second interval via setAuthToken() so the token doesn’t expire during the session.
2. Create the database schema
requesting_user_id() helper function (since Clerk user IDs are strings, not UUIDs) and a todos table with Row Level Security policies.
Do I need RLS on every table? No — only on tables that store user-specific data. Apply RLS based on your data model:
- User-private tables (todos, notes, drafts): enable RLS and filter by
user_id = requesting_user_id()so each user only sees their own rows. - Public read-only tables (blog posts, product catalog, leaderboards): keep RLS enabled but add a permissive
FOR SELECT USING (true)policy forauthenticated(andanonif unauthenticated reads are allowed). This is safer than disabling RLS outright. - Mixed tables (e.g., posts everyone can read but only the author can edit): enable RLS with a public
SELECTpolicy plusUPDATE/DELETEpolicies scoped touser_id = requesting_user_id().
3. Build the todo list page
Step 5: Run Your Application
http://localhost:3000 and sign up with a new user through Clerk. Sign in, add a todo, then open both dashboards side-by-side — the new account shows up in the Clerk Dashboard under Users, the todo row appears in your InsForge database, and the InsForge Auth > Users page stays empty because Clerk owns the identity.
Why is InsForge’s Auth > Users empty? Authentication is handled entirely by Clerk, so user records live in the Clerk Dashboard — not in InsForge. InsForge only sees the JWT claim (
sub) that RLS uses to scope data to the correct user.